Adding a Server
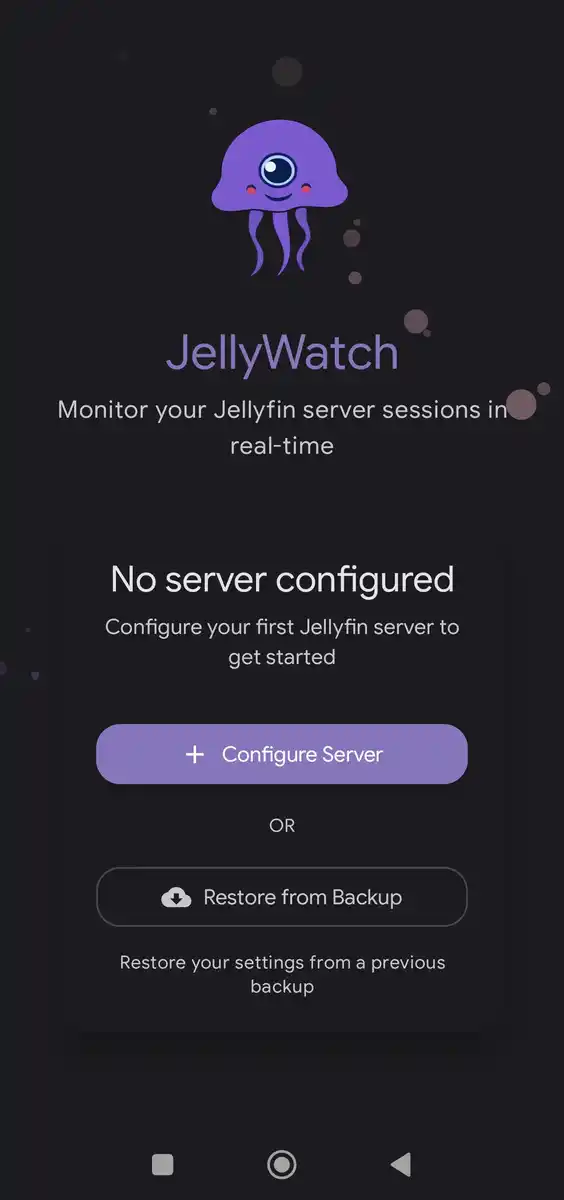
- Open JellyWatch and go to + Configure Servers screen.
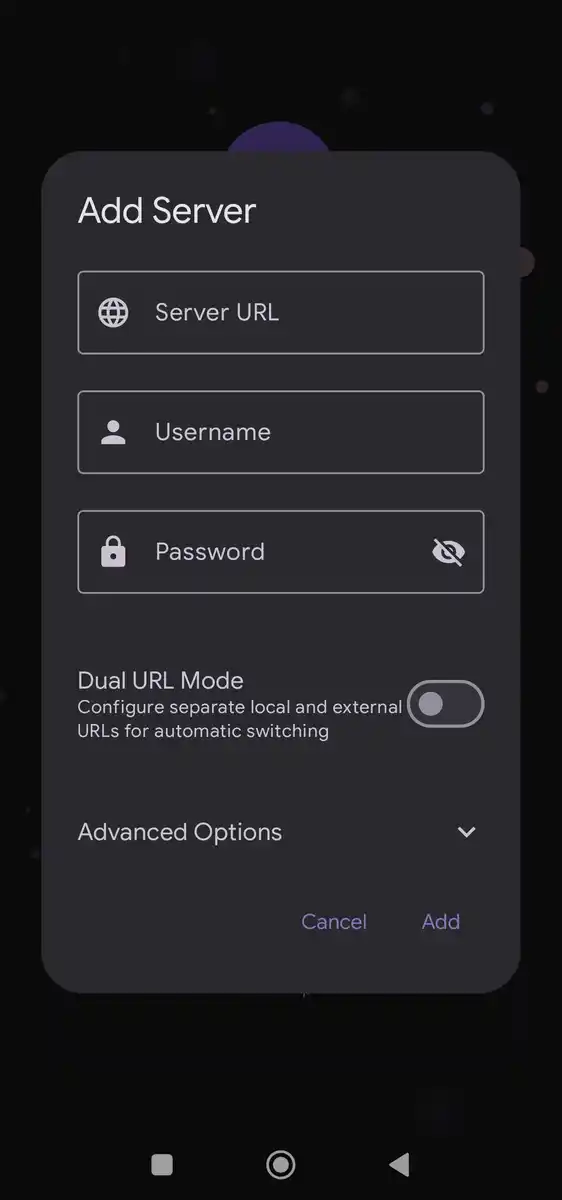
- Enter your server URL (e.g.
https://jellyfin.yourdomain.com). - Enter your username and password.
- Tap Connect.
Adding a Server
- Open JellyWatch and go to + Configure Servers screen.
- Enter your server URL (e.g.
https://jellyfin.yourdomain.com). - Enter your username and password.
- Tap Connect.
Dual URL Mode
JellyWatch supports dual URL mode for automatic local/external switching:
- Local URL — used when you're on the same network as your server (e.g.
http://192.168.1.100:8096). - External URL — used when you're away from home (e.g.
https://jellyfin.yourdomain.com). - Enable Auto Switch and JellyWatch will automatically pick the correct URL based on your current network.
Self-Signed Certificates
If your server uses a self-signed SSL certificate, enable the Allow self-signed certificates toggle in the server configuration dialog.
Custom Headers
You can add custom HTTP headers (e.g. for reverse proxy authentication) when configuring a server.
Troubleshooting
Server not found
- Ensure your device can reach the server URL in a browser.
- Check firewall rules and port forwarding (default port:
8096).
SSL / HTTPS errors
- Verify your certificate is valid.
- Enable the self-signed certificate toggle if needed.
Authentication failed
- Double-check your username and password.
- Ensure your account has API access permissions.