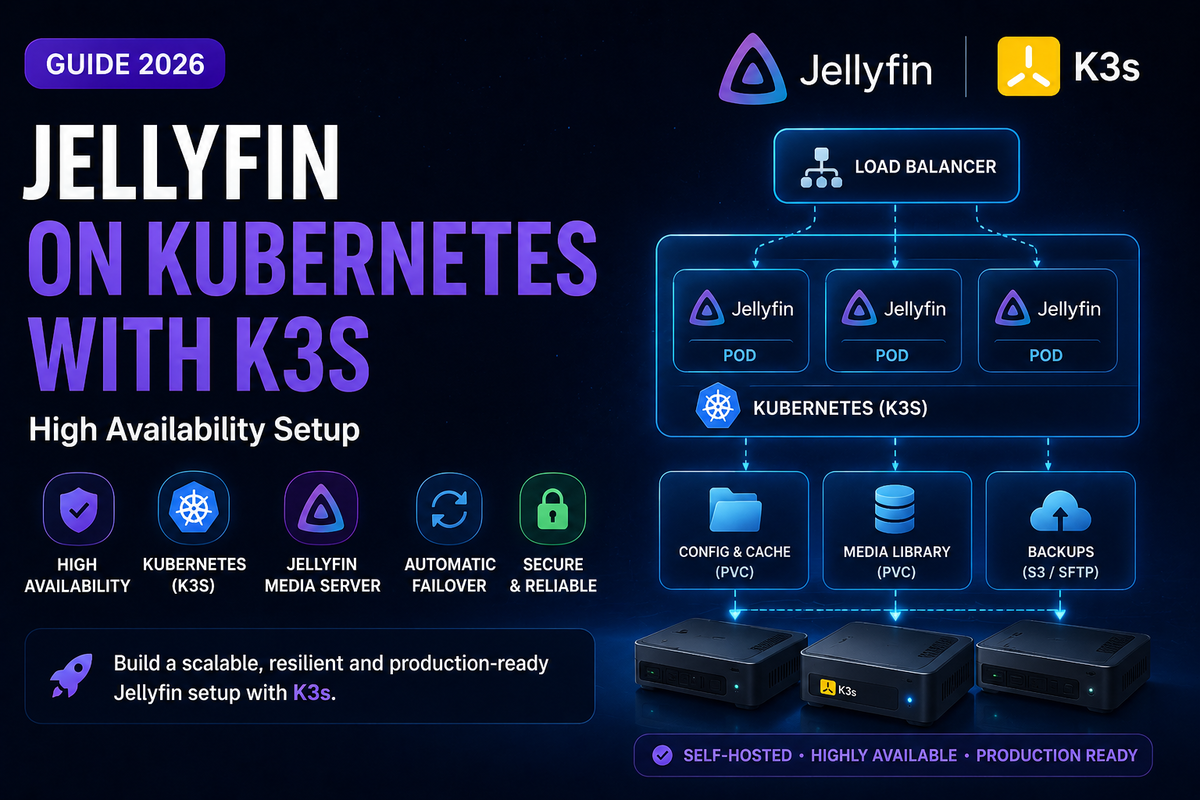
Jellyfin on Kubernetes (K3s): High-Availability Media Server (2026)
Docker Compose is great for single-node deployments. But what if you want automatic failover, rolling updates without downtime, resource limits, and the ability to scale across multiple nodes? That is where Kubernetes comes in.
K3s is a lightweight Kubernetes distribution that runs on a single node or a cluster. It is the most popular way to run Kubernetes in a homelab because it uses minimal resources while providing the full Kubernetes API.
This guide deploys Jellyfin on K3s with hardware transcoding, persistent storage, and HTTPS ingress.
Why Kubernetes for Jellyfin?
| Feature | Docker Compose | Kubernetes (K3s) |
|---|---|---|
| Auto-restart on crash | Yes (restart policy) | Yes (pod restart + health checks) |
| Rolling updates | No (downtime during recreate) | Yes (zero-downtime updates) |
| Resource limits | Basic | Granular (CPU/RAM requests and limits) |
| Multi-node | No | Yes (schedule across nodes) |
| Self-healing | Limited | Full (reschedule failed pods) |
| GPU scheduling | Manual device mapping | Device plugin (automatic) |
| Secret management | .env files | Kubernetes Secrets (encrypted at rest) |
| Ingress/TLS | Separate reverse proxy | Built-in (Traefik + cert-manager) |
| Monitoring | External tools | Prometheus + Grafana native |
| Complexity | Low | Medium-High |
When Kubernetes makes sense for Jellyfin
- You already run K3s/K8s for other services
- You want zero-downtime updates
- You run multiple nodes and want automatic failover
- You want centralized secret management
- You enjoy the Kubernetes ecosystem (Helm, GitOps, ArgoCD)
When Docker Compose is better
- Single node, simple setup
- You do not run other Kubernetes workloads
- You want minimal operational overhead
- Your homelab is a single mini PC
Prerequisites
- A Linux server (Ubuntu 22.04+ or Debian 12+)
- At least 4 GB RAM and 2 CPU cores
- An Intel GPU for hardware transcoding (optional but recommended)
- A domain name for HTTPS ingress
- Basic familiarity with kubectl commands
Step 1: Install K3s
K3s installs in under 30 seconds:
curl -sfL https://get.k3s.io | sh -
Verify:
sudo kubectl get nodes
# NAME         STATUS   ROLES                  AGE   VERSION
# my-server    Ready    control-plane,master   30s   v1.30.x+k3s1
Set up kubectl for your user:
mkdir -p ~/.kube
sudo cp /etc/rancher/k3s/k3s.yaml ~/.kube/config
sudo chown $(id -u):$(id -g) ~/.kube/config
export KUBECONFIG=~/.kube/config
Step 2: Install Helm
curl https://raw.githubusercontent.com/helm/helm/main/scripts/get-helm-3 | bash
Step 3: Intel GPU Device Plugin (for Hardware Transcoding)
The Intel Device Plugin for Kubernetes exposes /dev/dri devices to pods automatically.
# Add the Intel Helm repo
helm repo add intel https://intel.github.io/helm-charts
helm repo update

# Install the GPU device plugin
helm install intel-gpu-plugin intel/intel-device-plugins-gpu \
  --namespace kube-system \
  --set nodeFeatureRule=false
Verify the GPU is detected:
kubectl get nodes -o json | jq '.items[].status.allocatable | with_entries(select(.key | startswith("gpu.intel")))'
# Expected: "gpu.intel.com/i915": "1"
Step 4: Create Namespace and Storage
kubectl create namespace media
Persistent Volume for Jellyfin Config
Create jellyfin-pv.yaml:
apiVersion: v1
kind: PersistentVolume
metadata:
  name: jellyfin-config-pv
spec:
  capacity:
    storage: 50Gi
  accessModes:
    - ReadWriteOnce
  hostPath:
    path: /opt/jellyfin/config
    type: DirectoryOrCreate
  storageClassName: local-path
---
apiVersion: v1
kind: PersistentVolumeClaim
metadata:
  name: jellyfin-config-pvc
  namespace: media
spec:
  accessModes:
    - ReadWriteOnce
  resources:
    requests:
      storage: 50Gi
  storageClassName: local-path
kubectl apply -f jellyfin-pv.yaml
Step 5: Deploy Jellyfin
Create jellyfin-deployment.yaml:
apiVersion: apps/v1
kind: Deployment
metadata:
  name: jellyfin
  namespace: media
  labels:
    app: jellyfin
spec:
  replicas: 1
  selector:
    matchLabels:
      app: jellyfin
  strategy:
    type: Recreate
  template:
    metadata:
      labels:
        app: jellyfin
    spec:
      containers:
        - name: jellyfin
          image: jellyfin/jellyfin:latest
          ports:
            - containerPort: 8096
              name: http
          volumeMounts:
            - name: config
              mountPath: /config
            - name: cache
              mountPath: /cache
            - name: media
              mountPath: /media
              readOnly: true
          resources:
            requests:
              cpu: "500m"
              memory: "1Gi"
              gpu.intel.com/i915: "1"
            limits:
              cpu: "4000m"
              memory: "4Gi"
              gpu.intel.com/i915: "1"
          livenessProbe:
            httpGet:
              path: /health
              port: 8096
            initialDelaySeconds: 60
            periodSeconds: 30
          readinessProbe:
            httpGet:
              path: /health
              port: 8096
            initialDelaySeconds: 30
            periodSeconds: 10
      volumes:
        - name: config
          persistentVolumeClaim:
            claimName: jellyfin-config-pvc
        - name: cache
          emptyDir:
            sizeLimit: 20Gi
        - name: media
          hostPath:
            path: /mnt/media
            type: Directory
---
apiVersion: v1
kind: Service
metadata:
  name: jellyfin
  namespace: media
spec:
  selector:
    app: jellyfin
  ports:
    - port: 8096
      targetPort: 8096
      name: http
  type: ClusterIP
kubectl apply -f jellyfin-deployment.yaml
Key configuration explained
- gpu.intel.com/i915: "1" - requests one Intel GPU from the device plugin
- strategy: Recreate - ensures only one instance runs at a time (Jellyfin uses SQLite, cannot share)
- livenessProbe - Kubernetes restarts the pod if /health stops responding
- readinessProbe - traffic is only sent to the pod when it is ready
- resource requests/limits - prevents Jellyfin from consuming all node resources
Step 6: Ingress with HTTPS (cert-manager)
K3s includes Traefik as the default ingress controller. Add cert-manager for automatic Let's Encrypt certificates:
kubectl apply -f https://github.com/cert-manager/cert-manager/releases/latest/download/cert-manager.yaml
Create a ClusterIssuer for Let's Encrypt:
apiVersion: cert-manager.io/v1
kind: ClusterIssuer
metadata:
  name: letsencrypt-prod
spec:
  acme:
    server: https://acme-v02.api.letsencrypt.org/directory
    email: you@yourdomain.com
    privateKeySecretRef:
      name: letsencrypt-prod
    solvers:
      - http01:
          ingress:
            class: traefik
Create the Ingress:
apiVersion: networking.k8s.io/v1
kind: Ingress
metadata:
  name: jellyfin-ingress
  namespace: media
  annotations:
    cert-manager.io/cluster-issuer: letsencrypt-prod
    traefik.ingress.kubernetes.io/router.middlewares: default-redirect-https@kubernetescrd
spec:
  tls:
    - hosts:
        - jellyfin.yourdomain.com
      secretName: jellyfin-tls
  rules:
    - host: jellyfin.yourdomain.com
      http:
        paths:
          - path: /
            pathType: Prefix
            backend:
              service:
                name: jellyfin
                port:
                  number: 8096
kubectl apply -f ingress.yaml
Your Jellyfin server is now accessible at https://jellyfin.yourdomain.com with automatic certificate renewal.
Step 7: Verify Everything Works
# Check pod status
kubectl get pods -n media
# NAME                        READY   STATUS    RESTARTS   AGE
# jellyfin-xxxxx-xxxxx        1/1     Running   0          2m

# Check GPU allocation
kubectl describe pod -n media jellyfin-xxxxx-xxxxx | grep gpu
# gpu.intel.com/i915: 1

# Check logs
kubectl logs -n media deployment/jellyfin --tail=50

# Check ingress
kubectl get ingress -n media
Step 8: Enable Hardware Transcoding in Jellyfin
- Open
https://jellyfin.yourdomain.com - Complete the setup wizard
- Dashboard > Playback > Transcoding
- Hardware acceleration: Intel QuickSync (QSV)
- Enable: H.264, HEVC, VP9 decode
- Enable: Hardware Tone Mapping
- Save
The Intel GPU device plugin handles all the /dev/dri mapping automatically. No manual device configuration needed.
Updating Jellyfin (Zero-Downtime)
With Kubernetes, updates are a single command:
kubectl set image deployment/jellyfin -n media jellyfin=jellyfin/jellyfin:latest
kubectl rollout status deployment/jellyfin -n media
Or if using the Recreate strategy (required for SQLite):
kubectl rollout restart deployment/jellyfin -n media
Rollback if something goes wrong:
kubectl rollout undo deployment/jellyfin -n media
Deploying the Full ARR Stack on K3s
The same patterns apply to Radarr, Sonarr, Prowlarr, and other services. Each gets its own Deployment, Service, PVC, and Ingress.
For a complete media stack on K3s, consider using a Helm chart that bundles everything:
# Community media stack Helm chart
helm repo add k8s-at-home https://k8s-at-home.com/charts/
helm install media-stack k8s-at-home/media-stack -n media
Or manage each service individually with GitOps (ArgoCD or Flux) for declarative, version-controlled deployments.
K3s vs Docker Compose: Honest Assessment
| Scenario | Winner |
|---|---|
| Single mini PC, simple setup | Docker Compose |
| Multiple nodes, want failover | K3s |
| Already using Kubernetes | K3s (obviously) |
| Want GitOps and declarative config | K3s |
| Minimal operational overhead | Docker Compose |
| Learning Kubernetes | K3s (great learning project) |
| Production-grade with monitoring | K3s + Prometheus |
Monitoring on K3s
Kubernetes has native monitoring integration:
# Install kube-prometheus-stack
helm repo add prometheus-community https://prometheus-community.github.io/helm-charts
helm install monitoring prometheus-community/kube-prometheus-stack -n monitoring --create-namespace
This gives you Prometheus + Grafana with pre-built dashboards for pod health, resource usage, and node metrics.
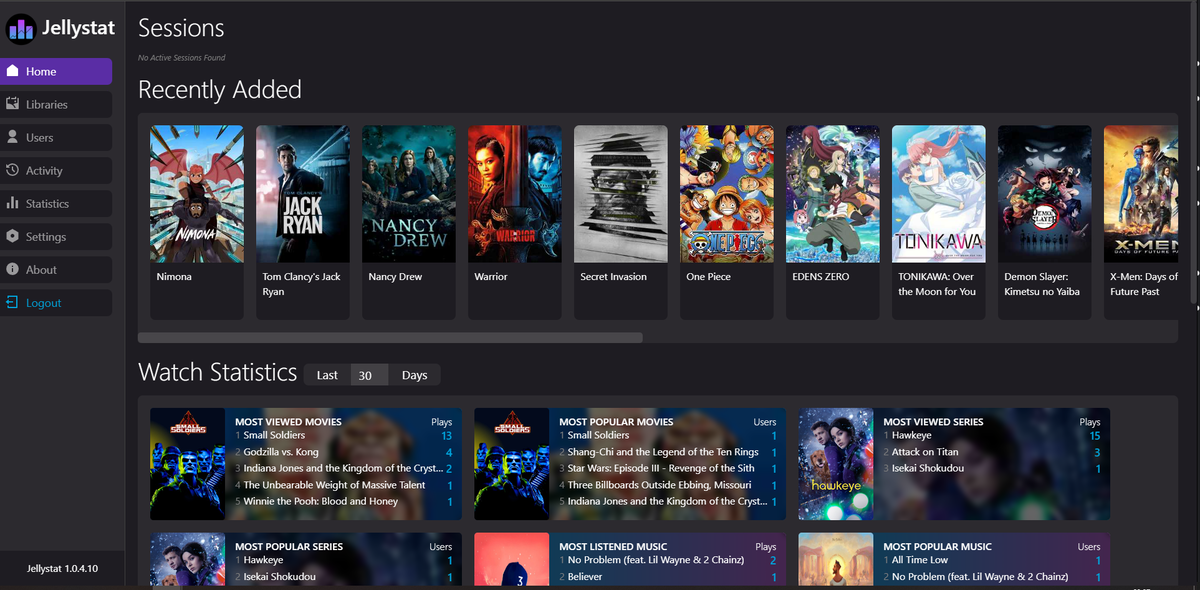
For Jellyfin-specific monitoring, JellyWatch connects to the Jellyfin API regardless of whether it runs on Docker or Kubernetes.
FAQ
Can Jellyfin run with multiple replicas? No. Jellyfin uses SQLite which does not support concurrent writes from multiple instances. Use replicas: 1 with strategy: Recreate.
Does the Intel GPU plugin work on K3s? Yes. The Intel device plugin works on any Kubernetes distribution including K3s.
Is K3s overkill for a single-node homelab? For Jellyfin alone, yes. But if you run 10+ services, K3s provides better resource management, health checking, and update workflows than Docker Compose.
Can I migrate from Docker Compose to K3s? Yes. Your Jellyfin config directory and media files stay the same. Only the orchestration layer changes.
Does K3s use more resources than Docker? K3s itself uses ~500MB RAM and minimal CPU. The overhead is acceptable on 8GB+ systems.
Jellyfin on Kubernetes? Monitor it from your phone regardless of orchestration. Download JellyWatch on Google Play - works with Jellyfin on Docker, K3s, bare metal, or any deployment method.
On Emby? Download EmbyWatch on Google Play

Comments
No comments yet. Be the first to share your thoughts.
Leave a comment